22halomedia

Tag: CSS

  • Easily Add a Banner Ad to Your Website

    Easily Add a Banner Ad to Your Website

    Subscribe to 22halomedia YouTube Channel

    Introduction

    With Simply Banner, adding a banner ad to your WordPress website is easy! Typically you would need a good understanding of HTML and CSS at the very least. But with Simply Banner, anyone can add a custom banner ad to their website in just few minutes!

    In this article you will learn how-to:

    Install Simple Banner Plugin

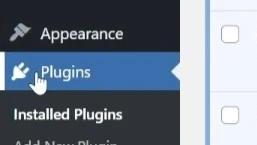
    Once logged into your WordPress dashboard, click Plugins from the left-hand menu.

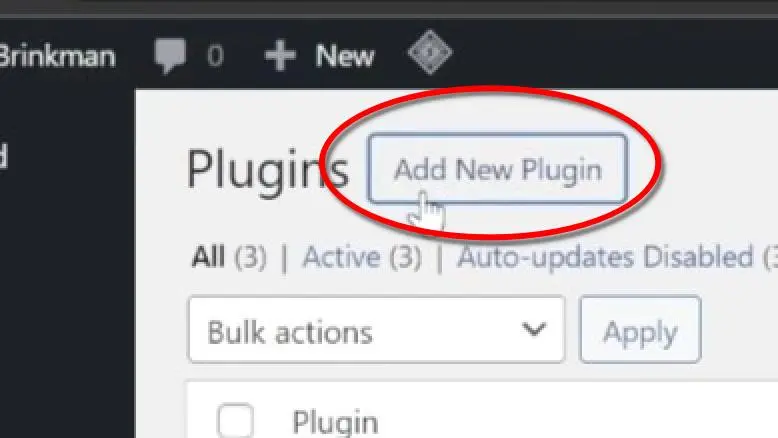
    Inside the Plugins menu, click Add New Plugin.

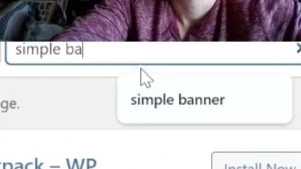
    Type Simple Banner in the search bar, and click Search.

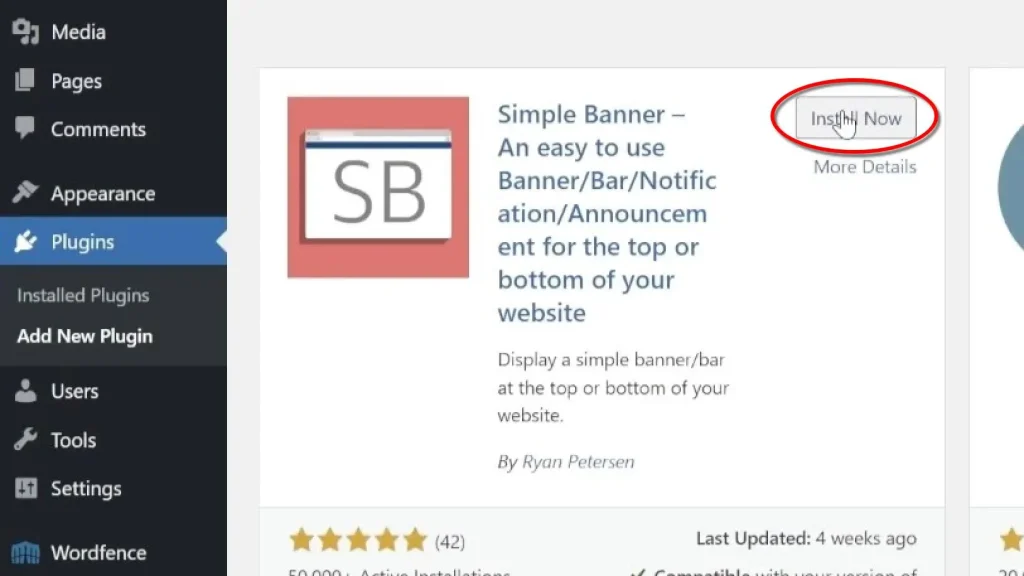
    Click Install Now to install the Simple Banner plugin.

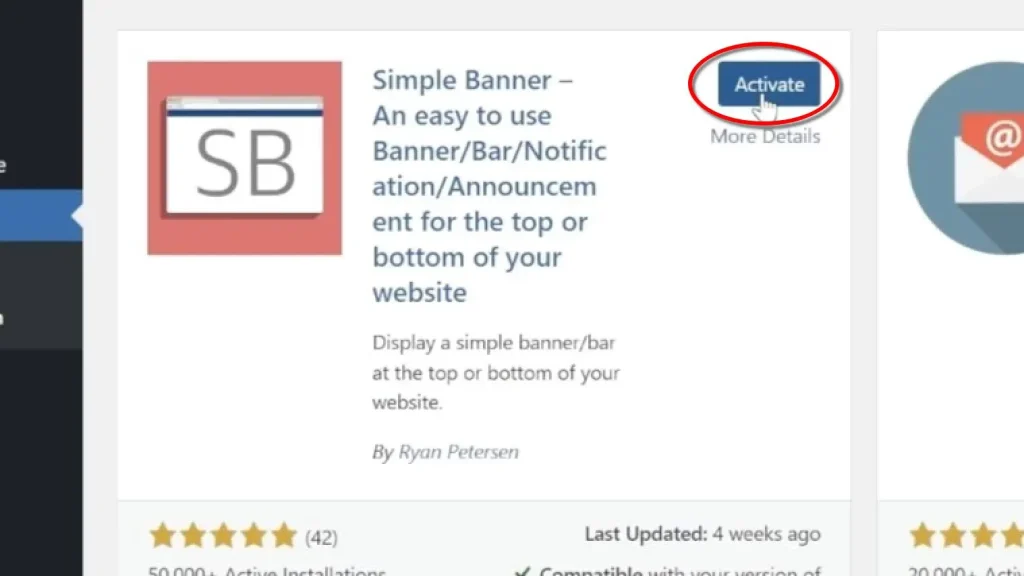
    Click Activate to activate the Simple Banner plugin.

    Add Your Banner

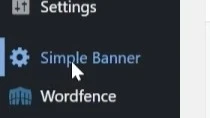
    Click Simple Banner from the left-hand menu.

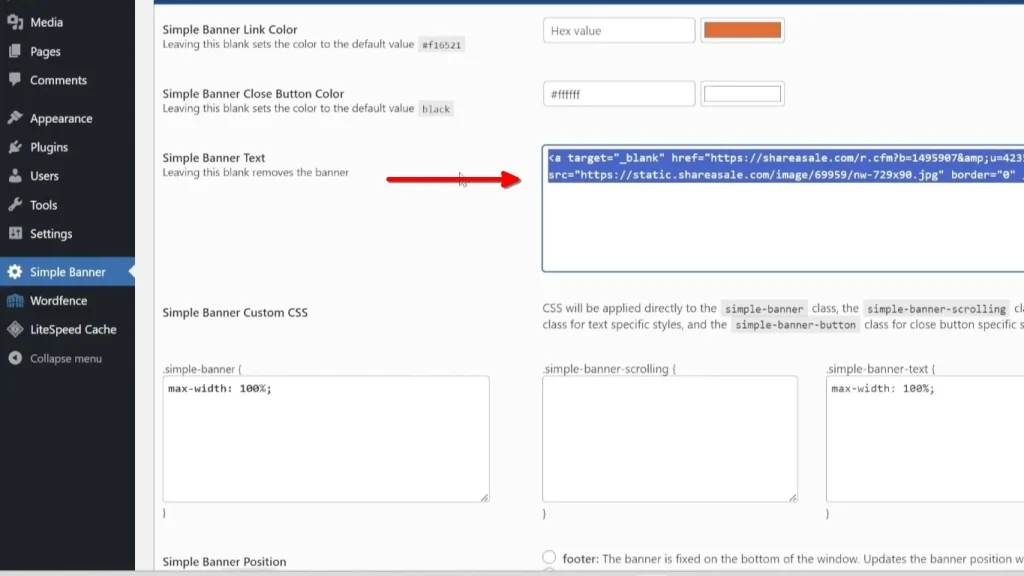
    Paste the HTML link provided to you by your affiliate partner into the Simple Banner Text field/text-area.

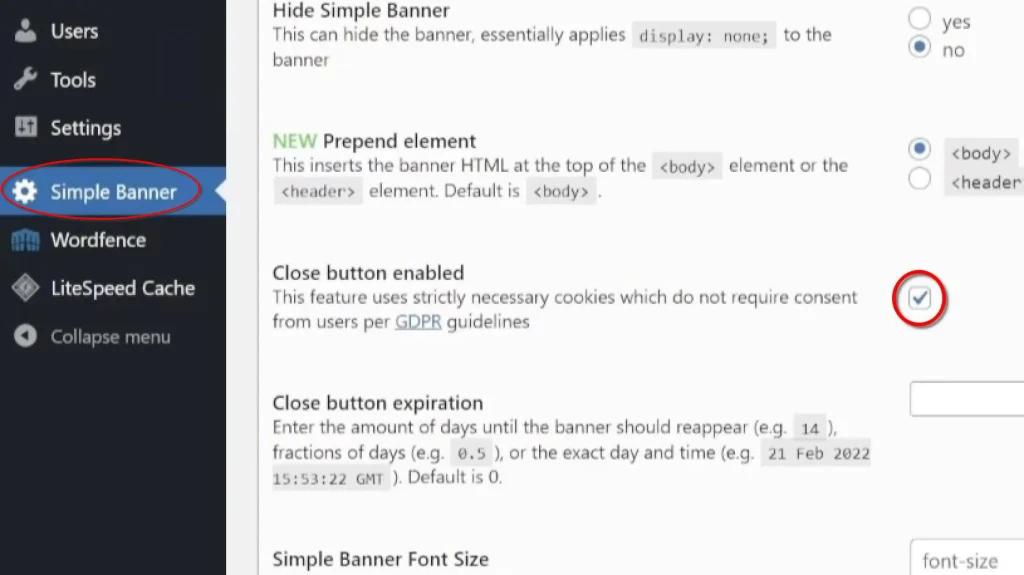
    Allow your users to close the ad by enabling the Close button enabled checkbox. Its generally a best practice to give your users the choice of closing pop-ups and advertisements.

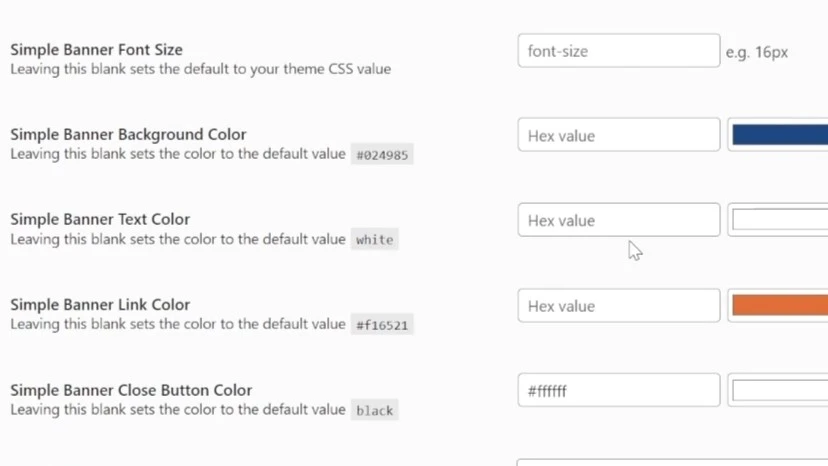
    You can change the font-size and colors of your banner ad text and background from with the Simple Banner plugin dashboard.

    Once you’ve added your add and have it styled how you want it, click Save Changes.

    Make the Banner Responsive

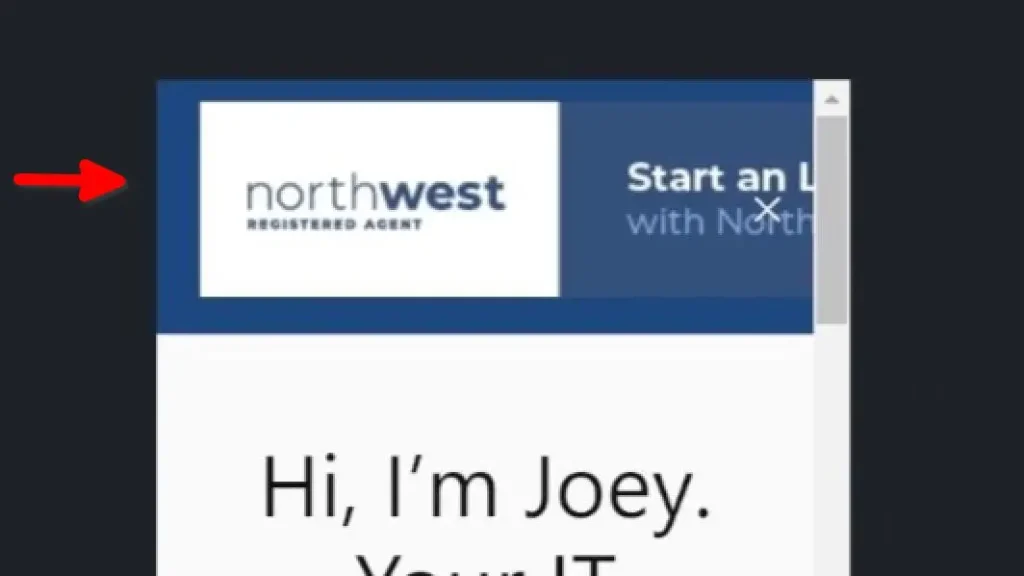
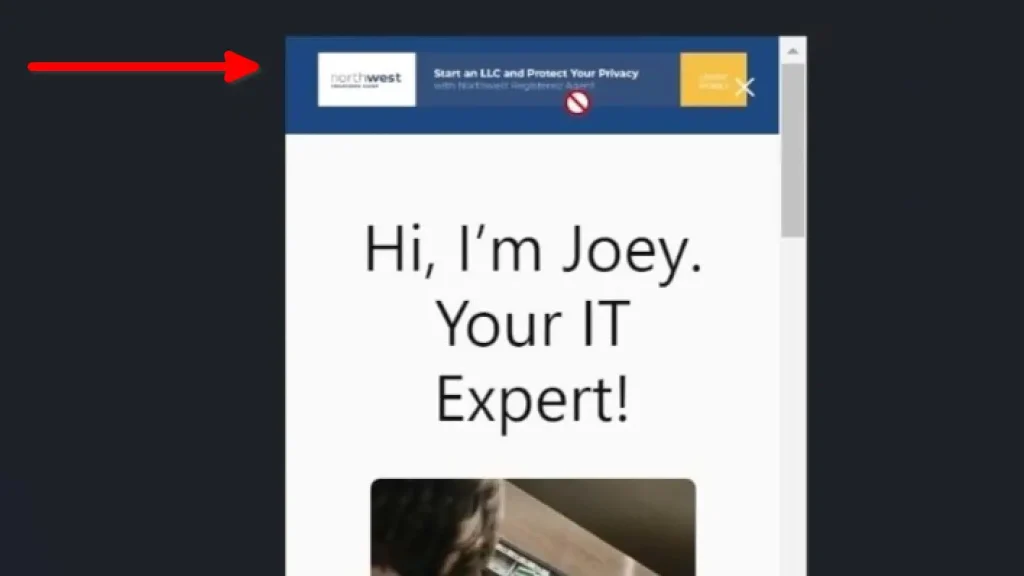
    As you can see, the banner ad in the above image is overflowing. This is not what you want. If your experiencing something similar, no worries, we can fix it together!

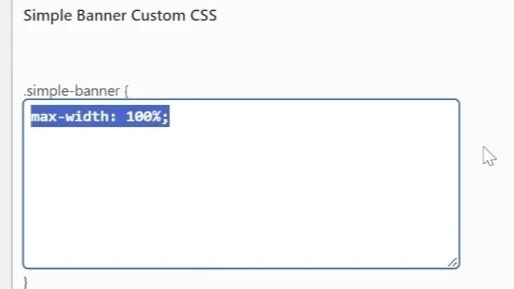
    Simply Banner makes customizing it’s CSS class easily available in its dashboard. That way you don’t have to go digging through the theme’s files to just add a line or two of Custom CSS to your banner.

    In this guide we use the following code to make banner never take up more than the full width of the site:

    max-width: 100%;

    Depending on how your theme handles images, you may need to set this same setting for images.

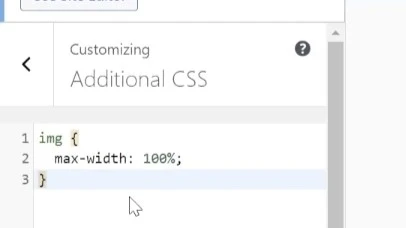
    In this guide, the Twenty Twenty Four theme was utilized, and it required adding custom CSS to the image element to make the banner ad responsive.

    To add custom CSS to your site in general, go to the customize.php page in your WordPress admin dashboard.

    You can do this by editing the URL in the top search bar of your browser. For instance, if I were editing the CSS of 22halomedia.com, I’d enter the following URL:

    https://22halomedia.com/wp-admin/customize.php

    Once in the Customize dashboard, click Additional CSS from the left-hand menu.

    Paste or type your CSS.

    Then click Publish to save changes.

    Ah, much better. Adding just a few lines of custom CSS and saving changes fixed the issue and made the banner ad responsive.

    Conclusion

    Well there you have it. As you can see, anyone can add a banner ad to their WordPress website in just a few simple steps. If you enjoyed the article, please leave a comment below!

    Articles to Read Next

    How to Setup WireGuard VPN on Rocky 9 Linux

    Secure Remote Support on LAN with x11vnc over SSH on Rocky Linux

    How to Install Virtual Box and Answering “What is a Hypervisor?”

    How to Enable Bidirectional Shared Clipboard on VirtualBox VM

    How to Create a Linux VM with VirtualBox

    Affiliate Links

    Form your business with Northwest registered agent

    Create a website with namedotcom

    Secure your website with Wordfence

    My work laptop

    Affiliate Disclaimer

    Please note that my website and content may contain affiliate links. This means that when you click on these links and make a purchase, I may earn a commission. Rest assured, all the products I promote are ones that I believe to be of high quality, and I personally use them as a consumer myself. Your support through these links helps me continue to create valuable content. Thank you for your support!

  • Create a Child Theme on WordPress the Easy Way

    Create a Child Theme on WordPress the Easy Way

    Subscribe to 22halomedia YouTube Channel

    Introduction

    A child theme is a copy of the parent theme. By creating a child theme you can make changes to the website’s styles without altering the original theme.

    Additionally, when the theme is updated, the child theme’s styles will stay intact. If you made customizations directly to the parent theme you’ll lose your changes when the theme is updated.

    Creating a Child Theme

    Products such as managed WordPress by namedotcom don’t provide FTP/SFTP access to the host. In these situations you may scratch your head wondering how to create a child theme for your custom styles. With a plugin of course!

    This guide uses the WP Child Theme Generator plugin.

    Install WP Child Theme Generator Plugin
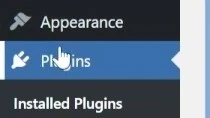
    The first thing you need to do to in order to install the WP Child Theme Generator plugin is click Plugins from the WordPress Dashboard.
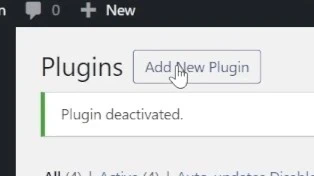
    Then click Add New Plugin.
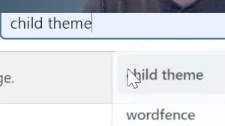
    Next, type child theme in the search bar.
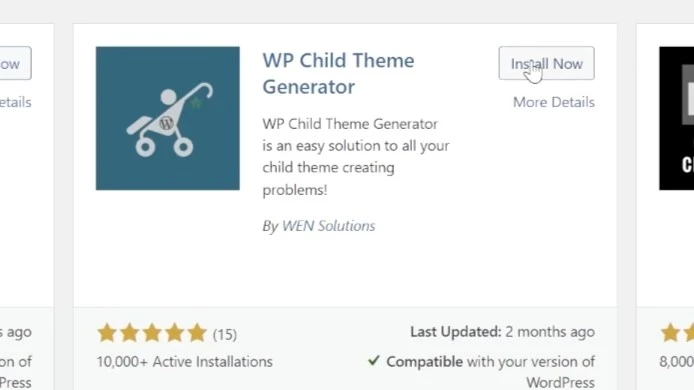
    Click Install Now on the WP Child Theme Generator Plugin.
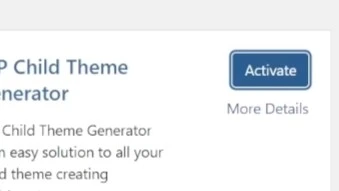
    Then click Activate.
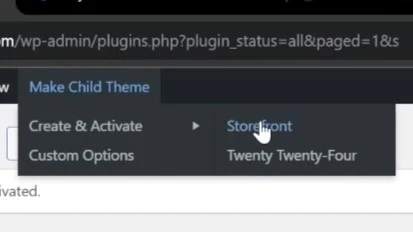
    In the top menu bar, hover over Make Child Theme, then the subdirectory Create & Activate, and click on the theme you want to make a child theme of. In this case, Storefront.

    Click Theme File Editor under the Appearance sub-menu.
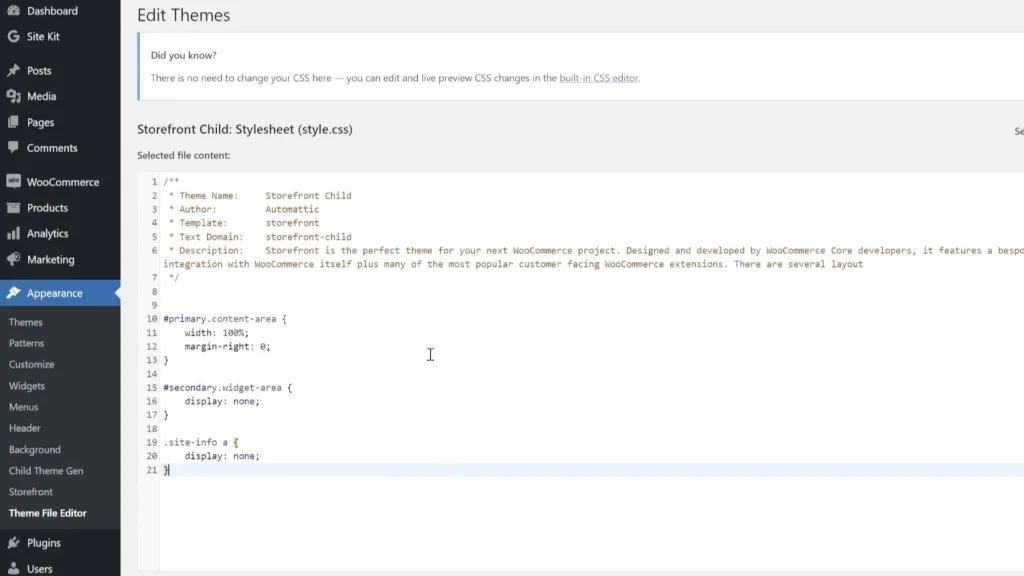
    Thanks to the child theme you can safely make changes to your theme files without overwriting your parent theme!

    Custom CSS

    #primary.content-area {
    	width: 100%;
    	margin-right: 0;
    }
    
    #secondary.widget-area {
    	display: none;
    }
    
    .site-info a {
    	display: none;
    }

    This is the custom CSS code used to remove the WooCommerce branding and sidebar in the guide.

    Conclusion

    Child themes are a way to protect your parent theme files and ensure your custom changes don’t get overwritten when your theme is updated.

    If you are using a managed WordPress product such as namedotcom managed WordPress then you won’t be able to access the webhost to manually create a child theme.

    WP Child Theme Generator is a great plugin, and use case, for such a scenario.

    I hope you enjoyed this blog post. Please leave a comment if it helped!

    Articles to Read Next

    How to Setup WireGuard VPN on Rocky 9 Linux

    Secure Remote Support on LAN with x11vnc over SSH on Rocky Linux

    How to Install Virtual Box and Answering “What is a Hypervisor?”

    How to Enable Bidirectional Shared Clipboard on VirtualBox VM

    How to Create a Linux VM with VirtualBox

    Affiliate Links

    Form your business with Northwest registered agent

    Create a website with namedotcom

    Secure your website with Wordfence

    My work laptop

    Affiliate Disclaimer

    Please note that my website and content may contain affiliate links. This means that when you click on these links and make a purchase, I may earn a commission. Rest assured, all the products I promote are ones that I believe to be of high quality, and I personally use them as a consumer myself. Your support through these links helps me continue to create valuable content. Thank you for your support!