Your cart is currently empty!
Spinning up an Ubuntu 24.04 LTS Desktop VM in VirtualBox

Subscribe to 22halomedia YouTube Channel
Introduction
Ubuntu 24.04 LTS Desktop is the latest long-term support release from Canonical. In this guide, you will learn how to download the Ubuntu 24.04 LTS Desktop ISO from Canonical’s website and install it on a new VirtualBox VM (virtual machine).
Downloading the ISO
Downloading Ubuntu is as simple as clicking the download button on Canonical’s website. Keep in mind that the file is quite large, at around 6GB, so the download may take some time depending on your internet speed.
How-to download the ISO:
Go to Ubuntu 24.04 LTS Desktop download page.
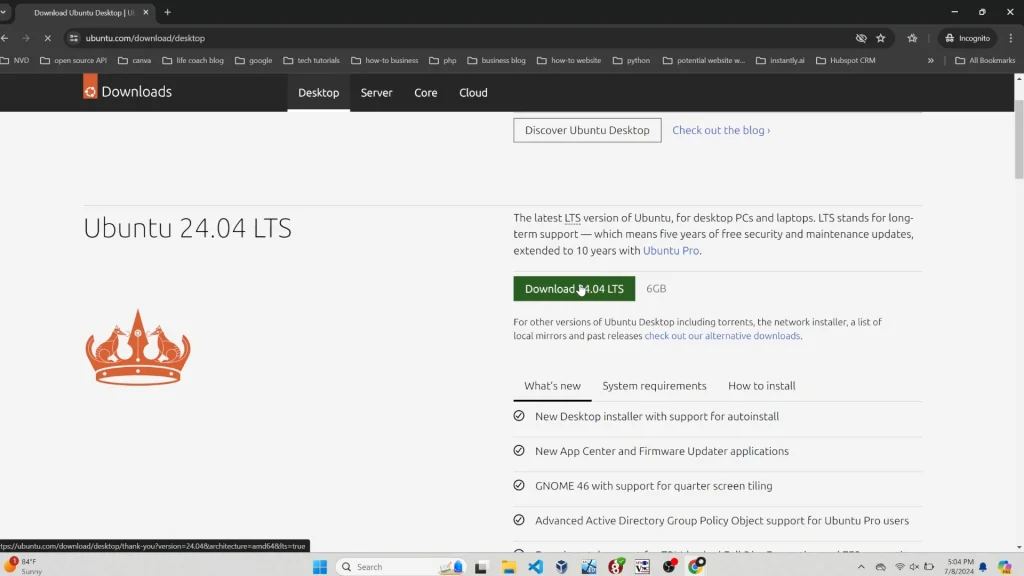
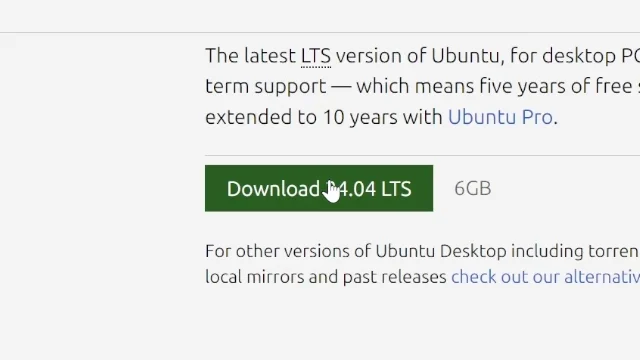
Click the green button that says Download 24.04 LTS.
Creating a VirtualBox VM
While creating an Ubuntu VM (Virtual Machine) can be done on any hypervisor, VirtualBox is used in this guide.
How to create a VirtualBox VM:
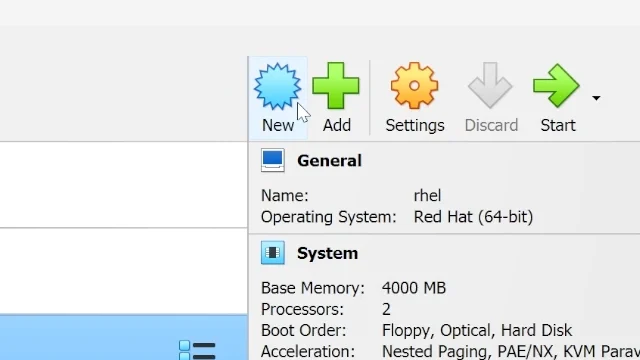
Click New.
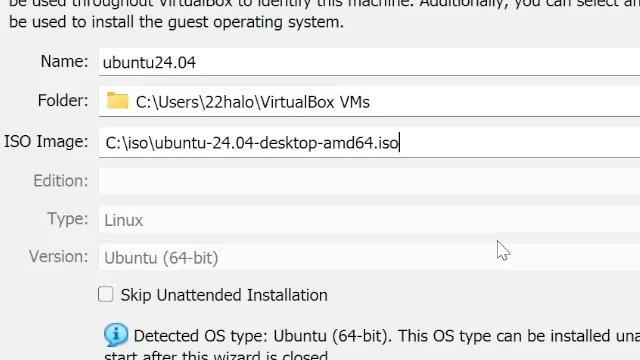
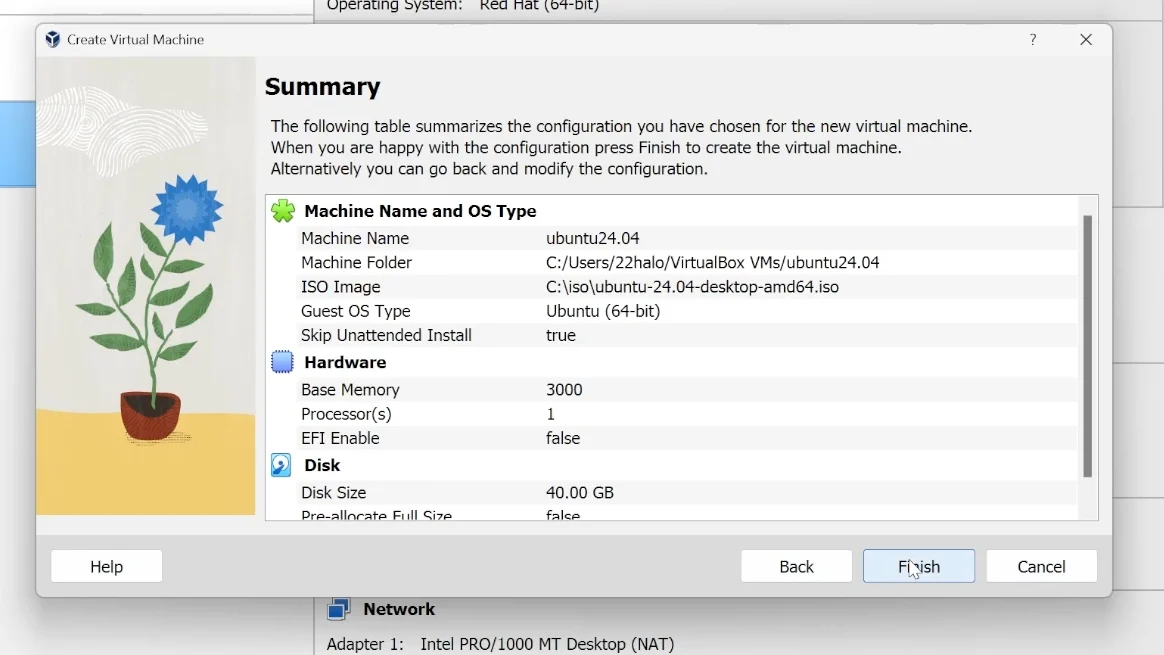
Give your VM a Descriptive Name.
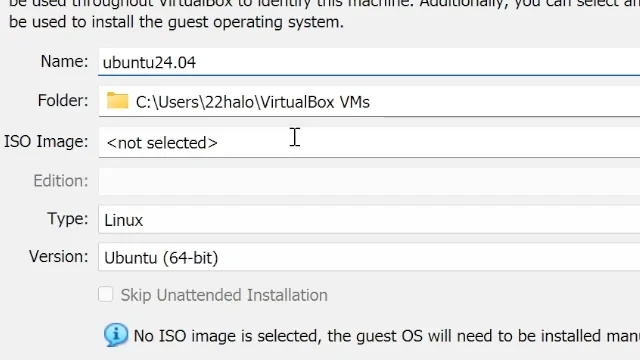
Select the ISO image from the dropdown menu.
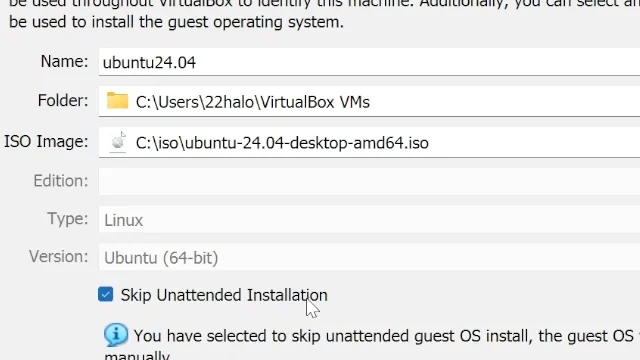
Check Skip Unattended Installation.
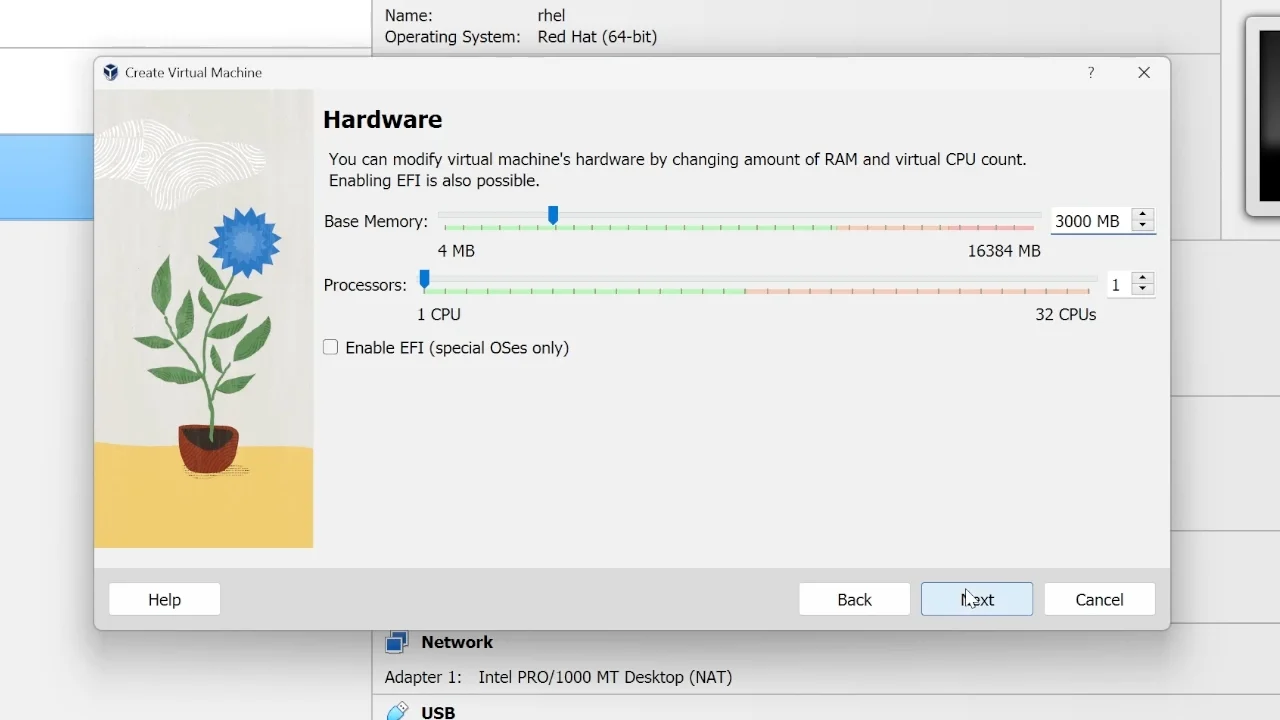
Assign desired amount of Base Memory and Processors to your VM.
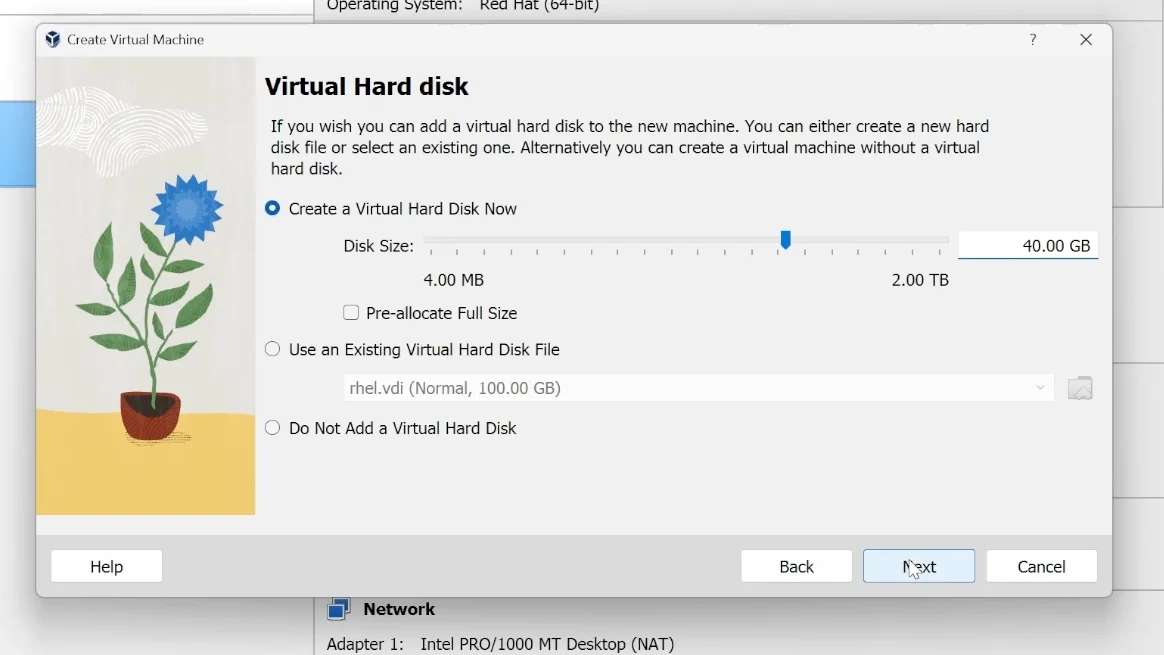
Assign desired amount of disk space towards the VM’s VHD (Virtual Hard Disk). Then click Next.
Read the summary and click Finish when done.
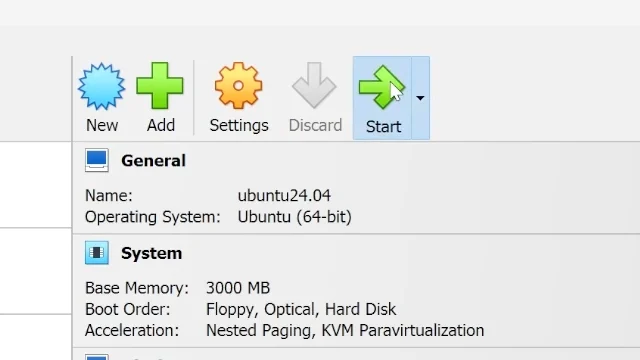
Click Start to boot your VM.
Installing Ubuntu 24.04 LTS Desktop
Congratulations on creating your new VirtualBox VM! Now you need to install Ubuntu 24.04 LTS. While you have the option to try Ubuntu without installing it, for long-term data storage and retrieval, you should install it on the VHD you created earlier.
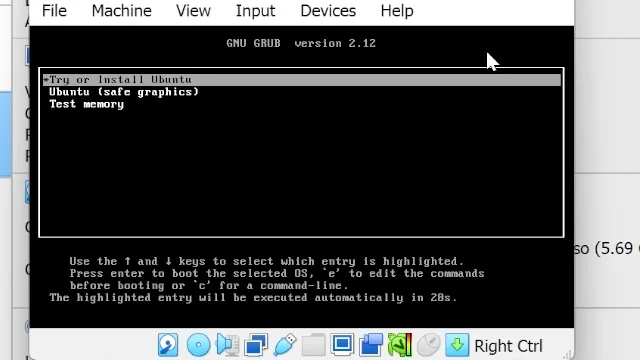
Press Enter (on your keyboard) when prompted to try or install Ubuntu.
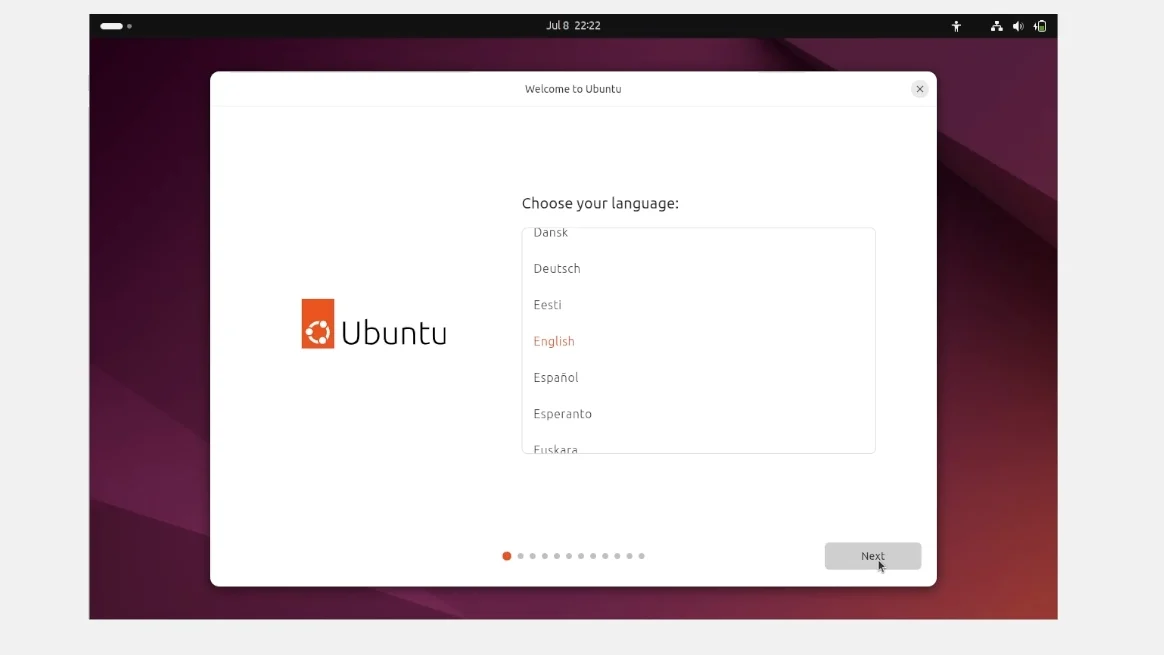
Choose your language, then click Next.
Choose your accessibility options, then click Next.
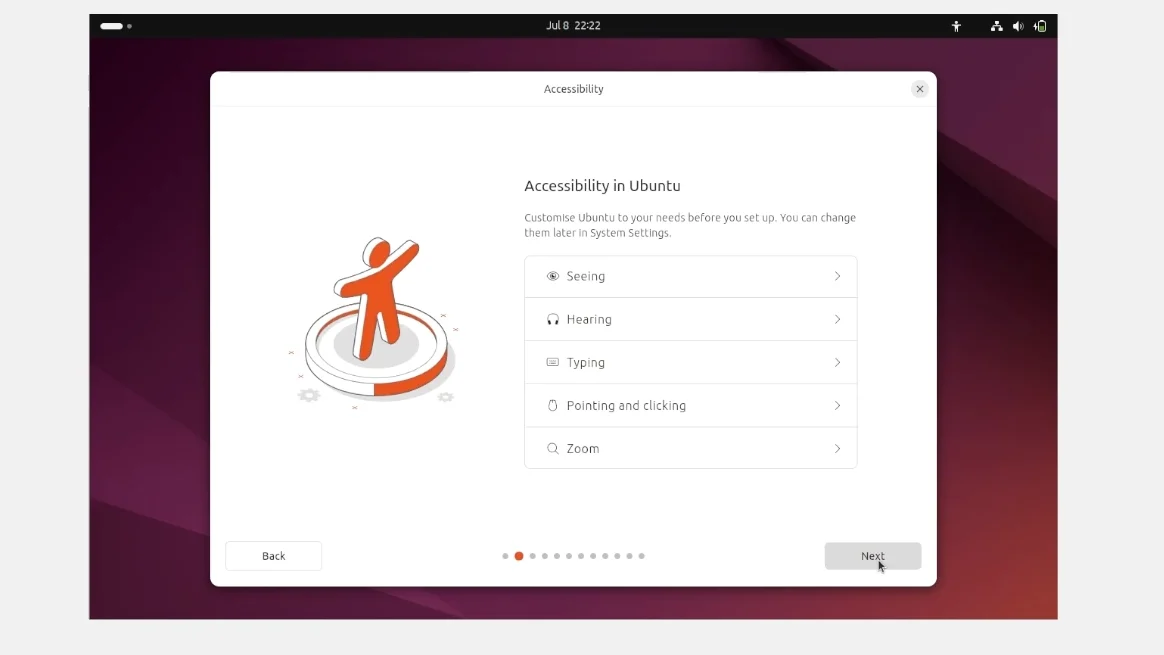
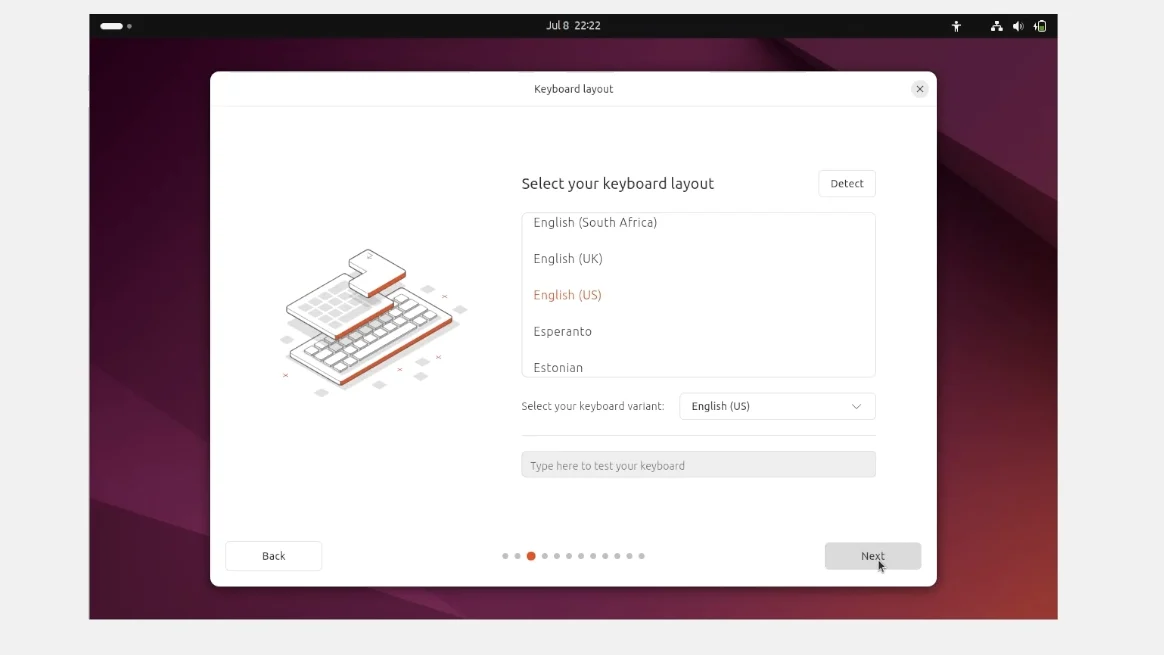
Select your keyboard layout, then click Next.
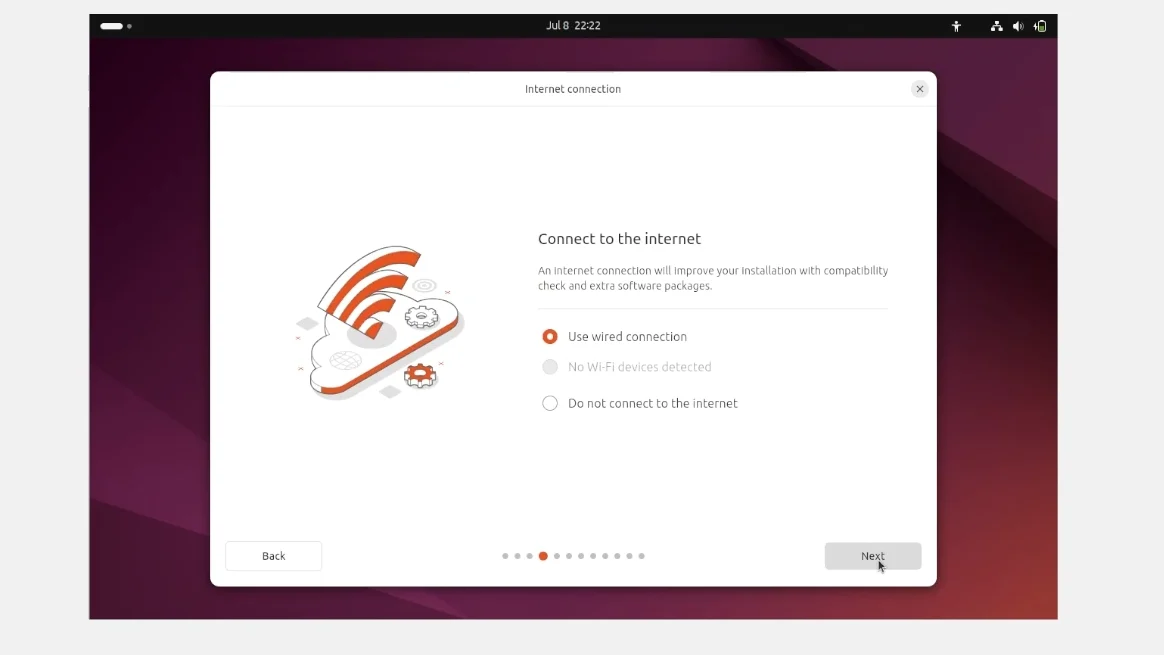
Connect to the internet, then click Next.
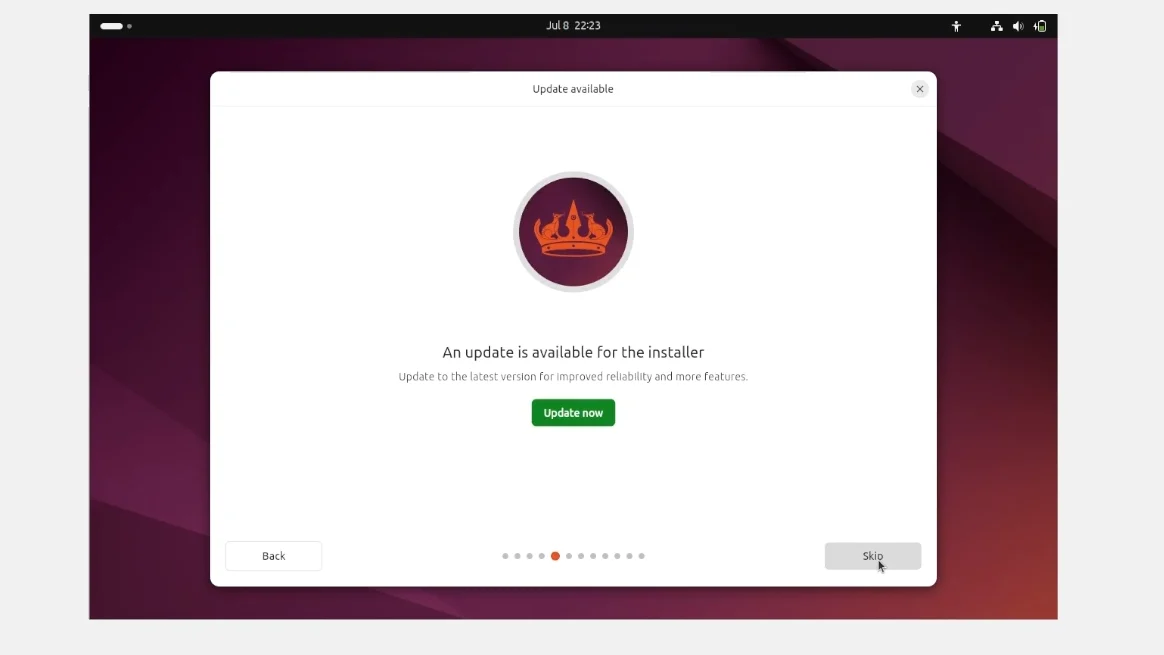
Press Update now to update the installer. Alternatively, press Skip to continue the installation without updating. For the purposes of this guide we will update the installer.
After the installer finishes updating, click Close installer.
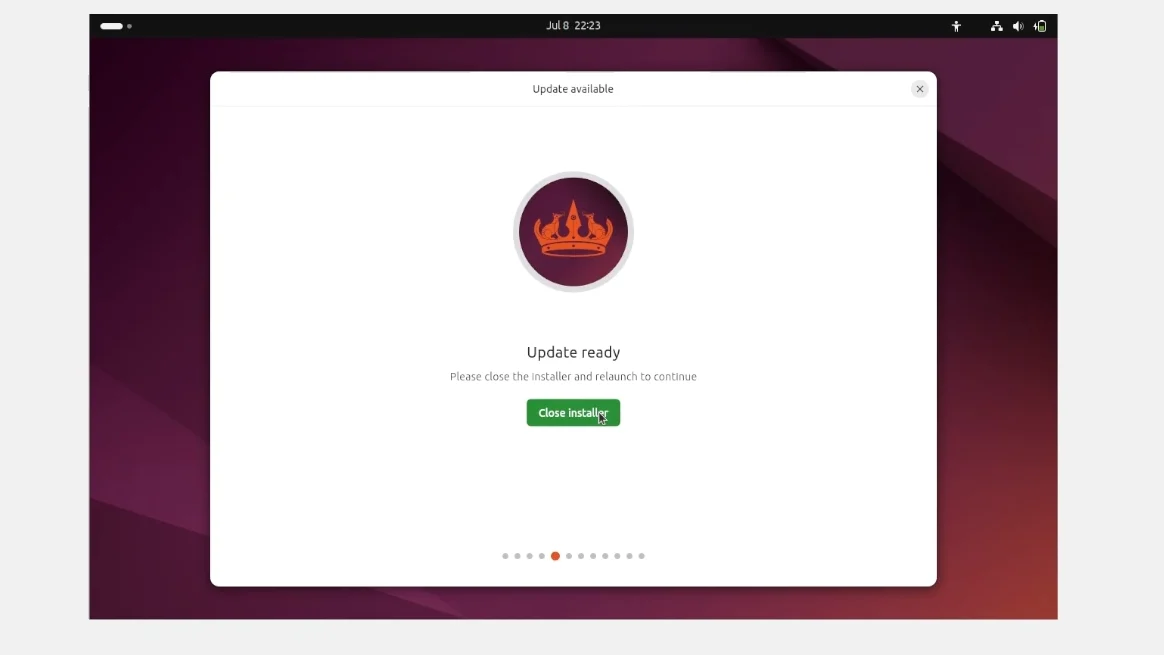
Click Install Ubuntu 24.04 LTS to run the installer again. You will need to repeat selecting the desired options as presented by the installer earlier in this guide.

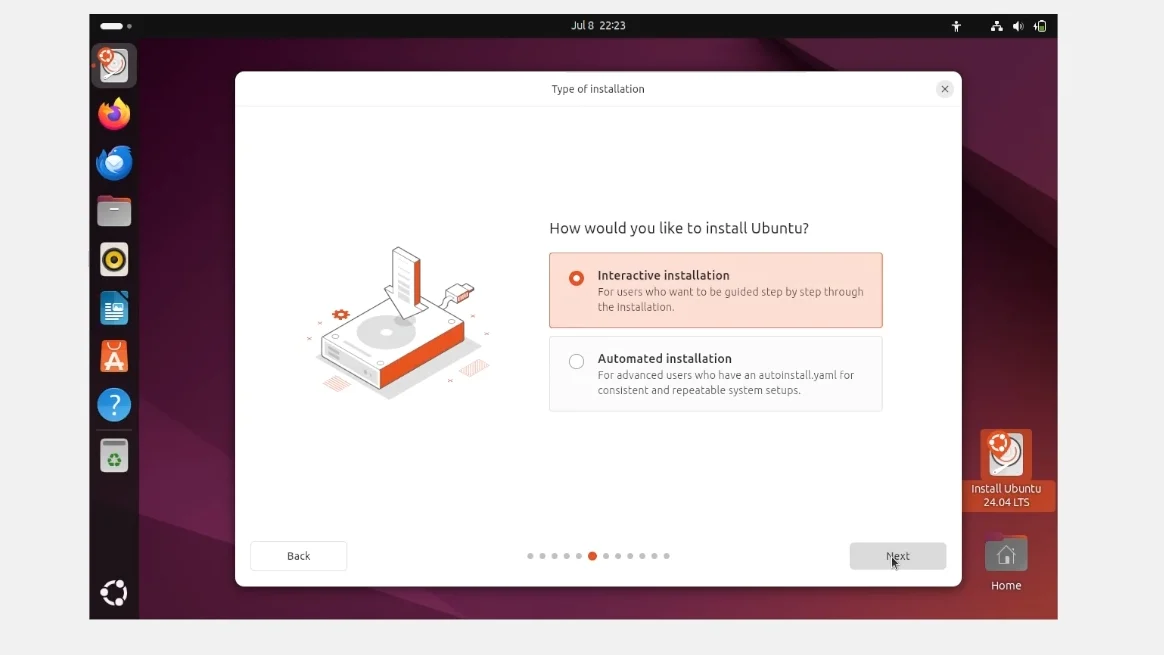
Select how you would like to install Ubuntu. For the purposes of this guide, the default option, Interactive installation, was left selected.
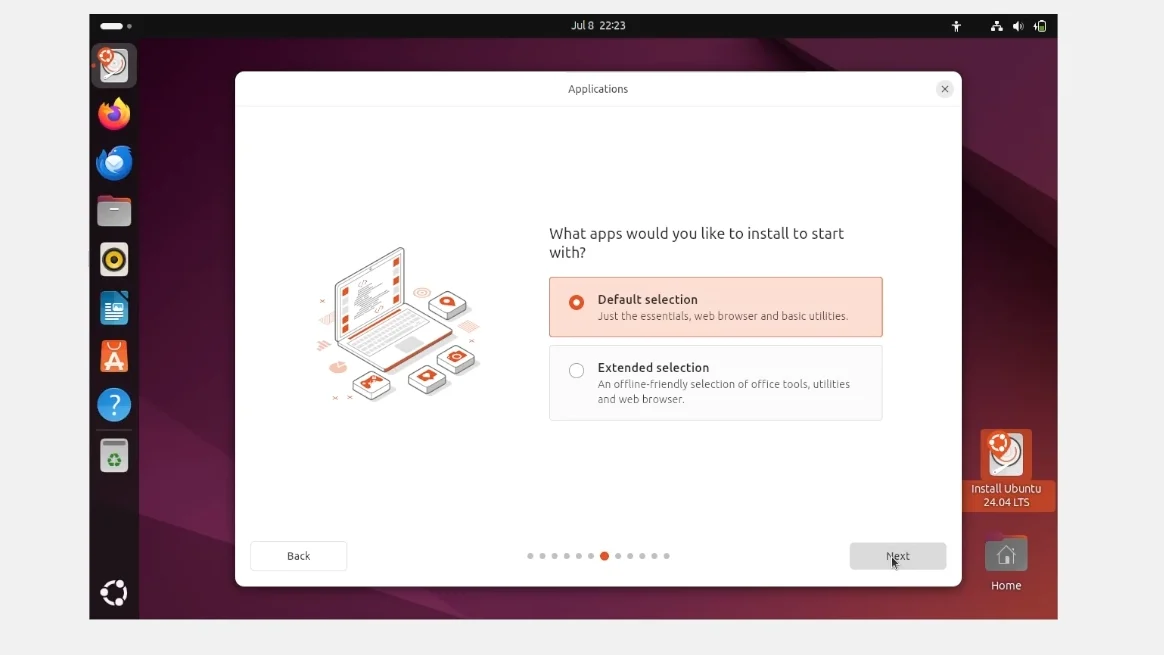
Select the apps you would like to start with. For the purposes of this guide, the default option, Default selection, was left selected. Then click Next.
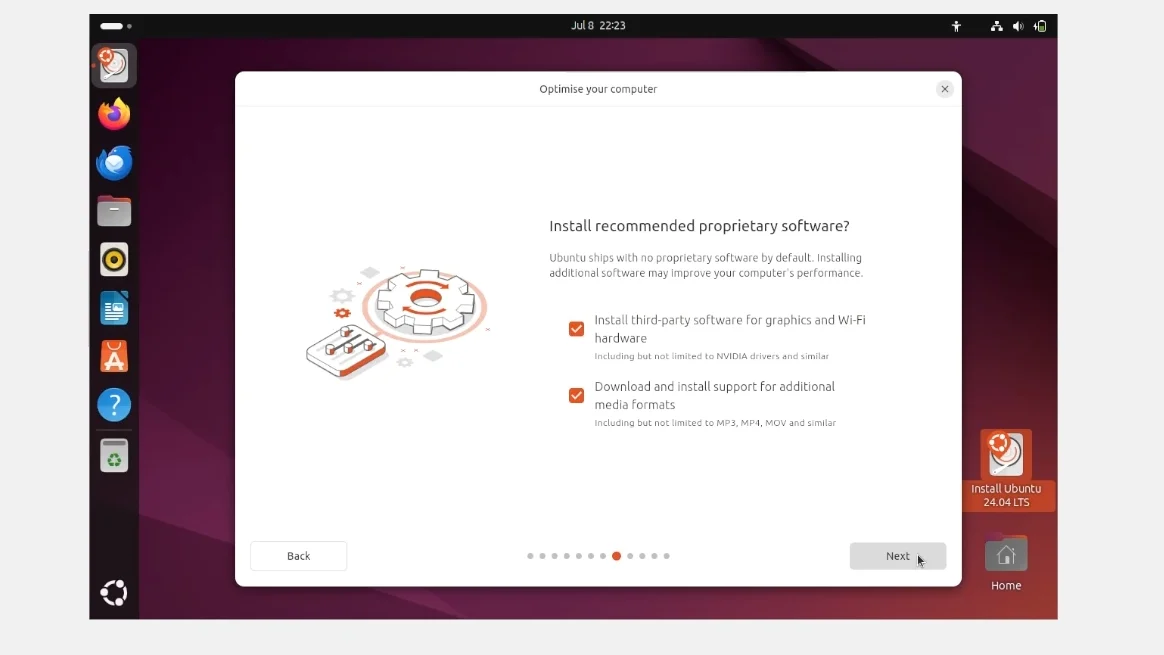
Now you need to choose whether you intend to install proprietary 3rd party software, such as graphics and Wi-Fi drivers, along with media codecs. For the purposes of this guide, both checkboxes under the heading Install recommended proprietary software?, have been checked. Then click Next.
Select how you want to install Ubuntu. For the purposes of this guide, Erase disk and install Ubuntu, has been selected. Then click Next.
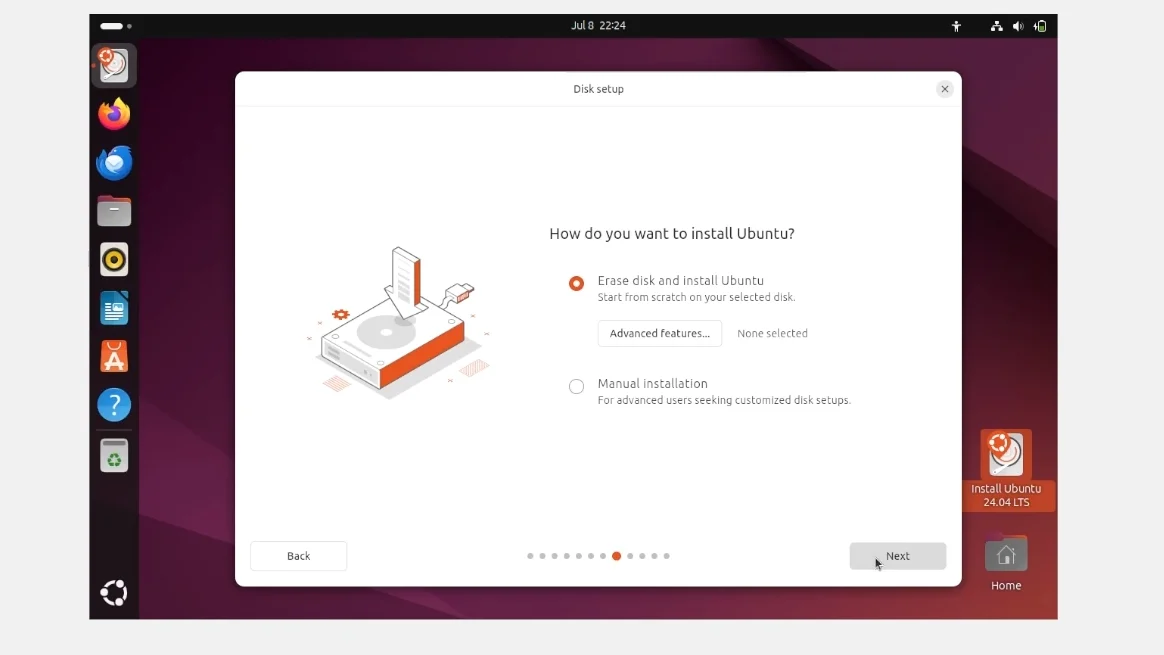
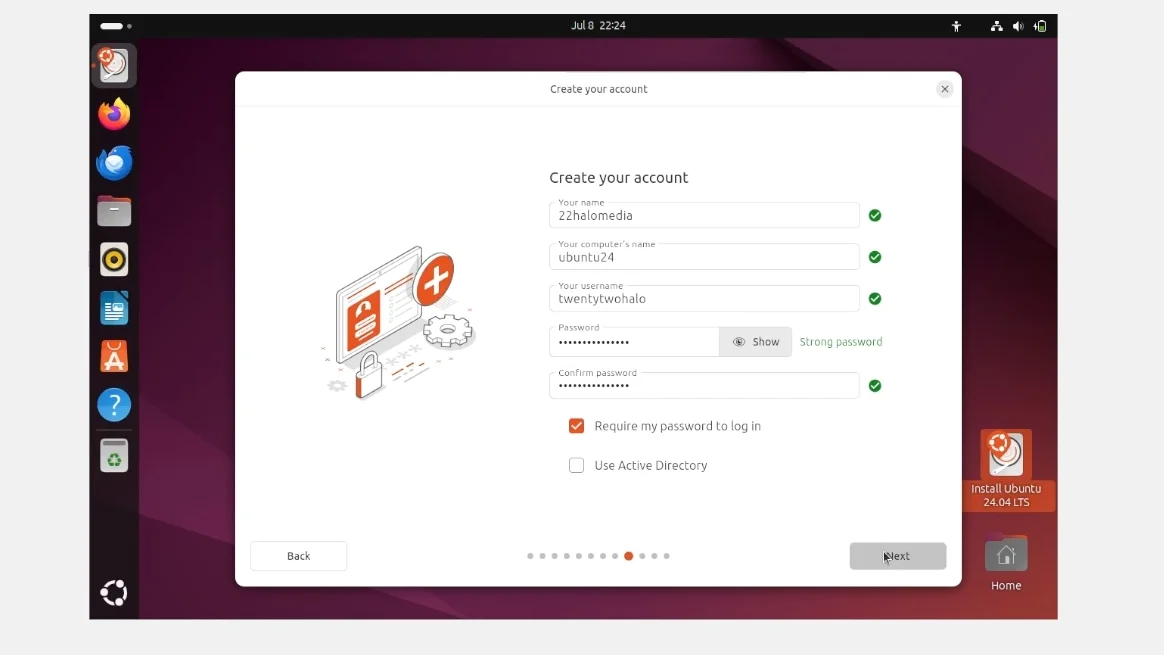
Create your account by providing values for Your name, Your computer name, Your username, and your Password. Leave Require my password to login checked. Then click Next.
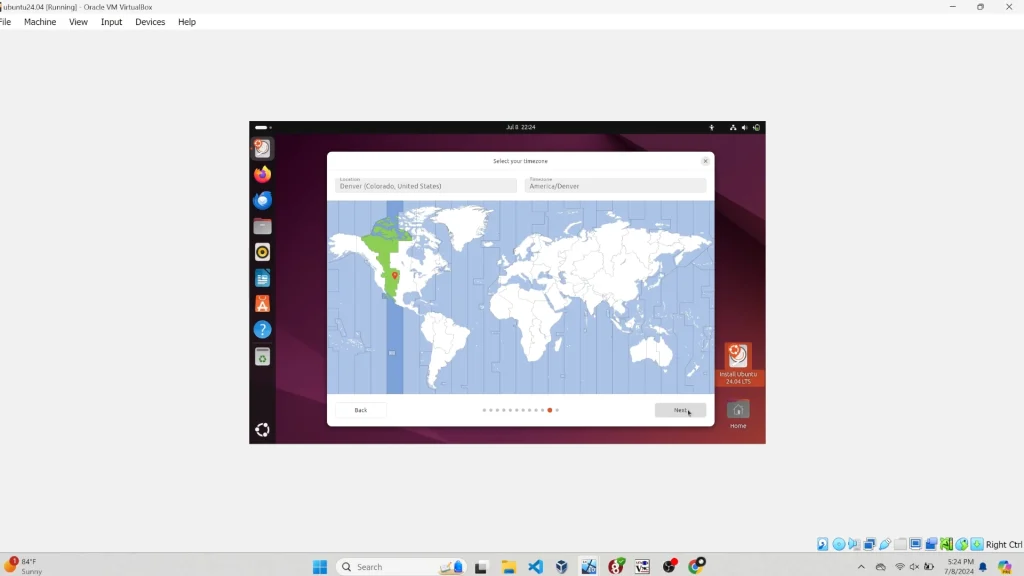
Select your Location and Timezone from their respective dropdown menus. Then click Next.
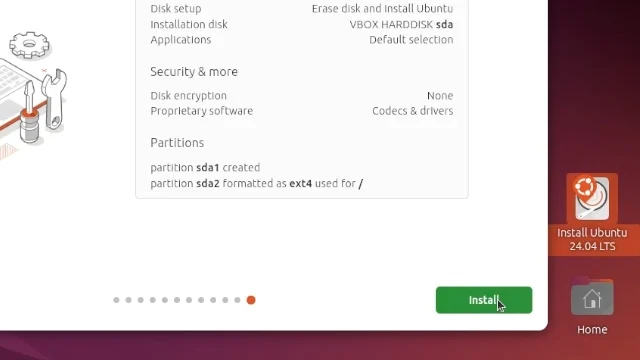
Review your choices.
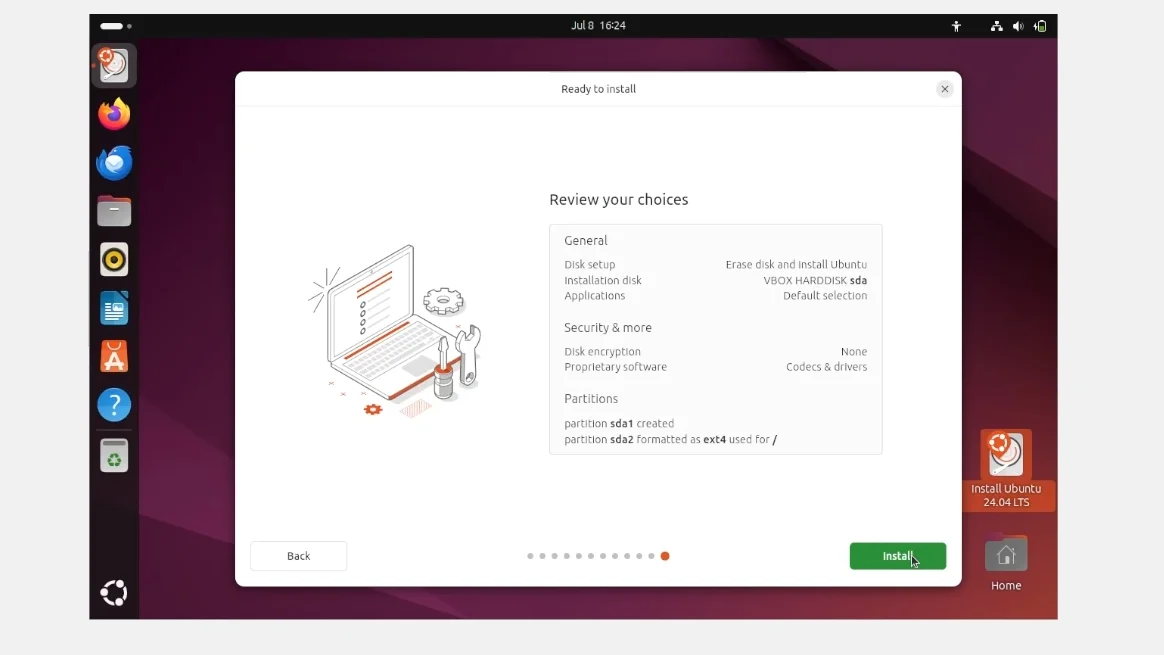
Click the green Install button to start installing Ubuntu 24.04 LTS Desktop.
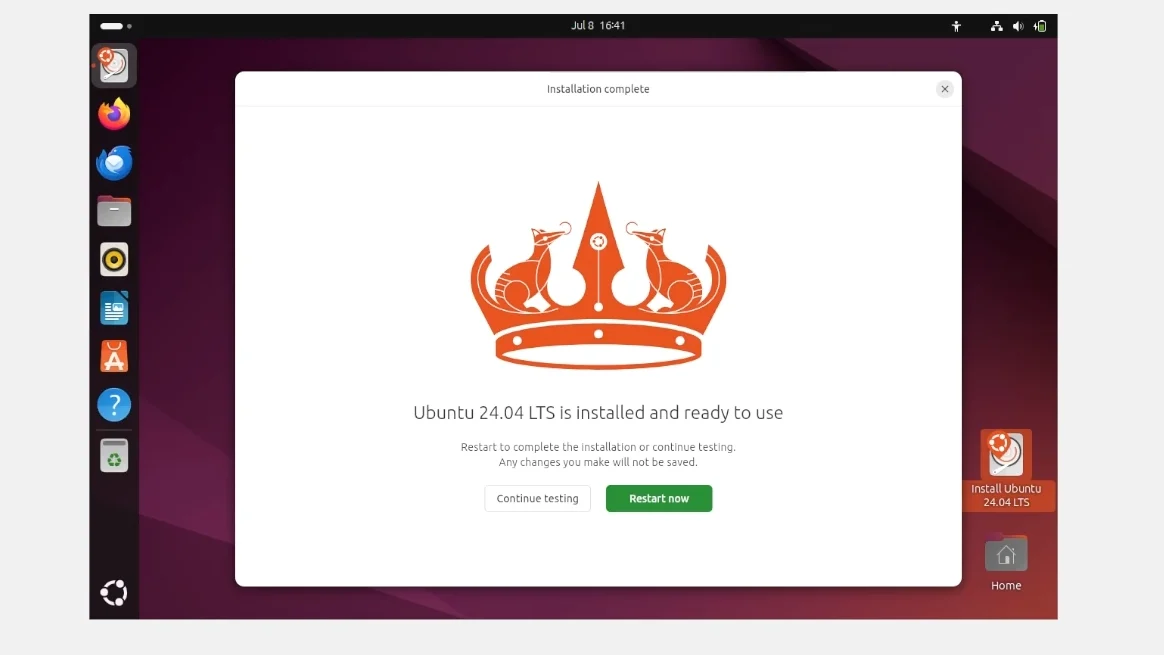
After the installation finishes, restart your PC by clicking the green button labeled Restart now.
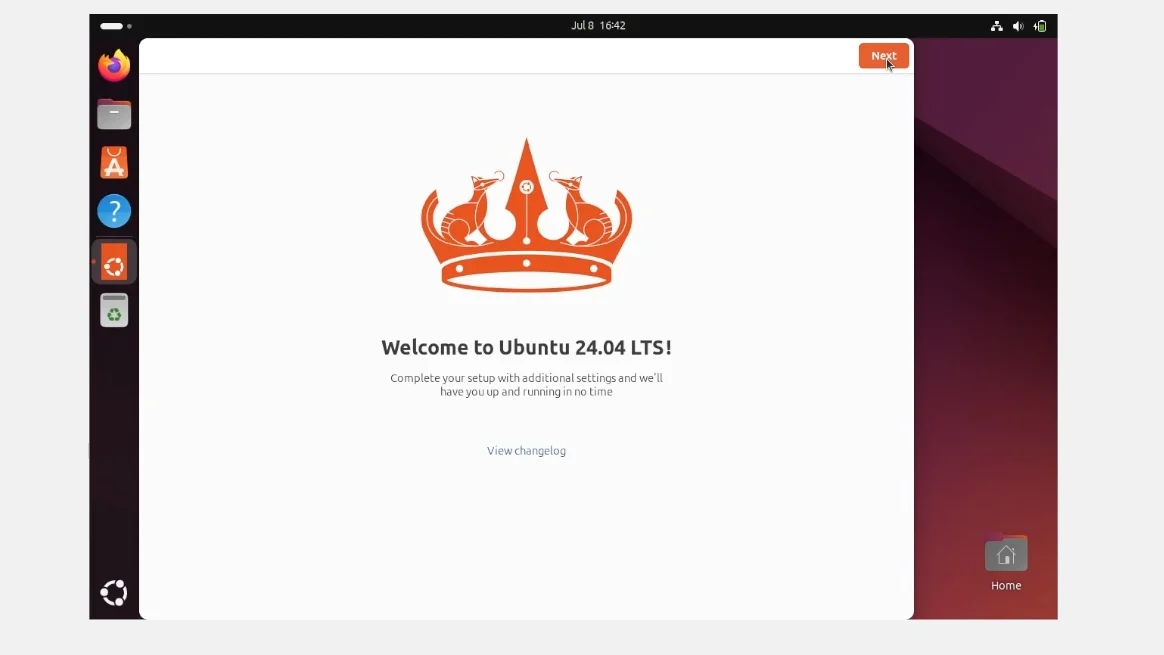
Welcome to Ubuntu 24.04 LTS
When you launch Ubuntu for he first time after installing it, a window with the text “Welcome to Ubuntu 24.04 LTS!” will automatically launch. Read the welcome message before clicking Next.
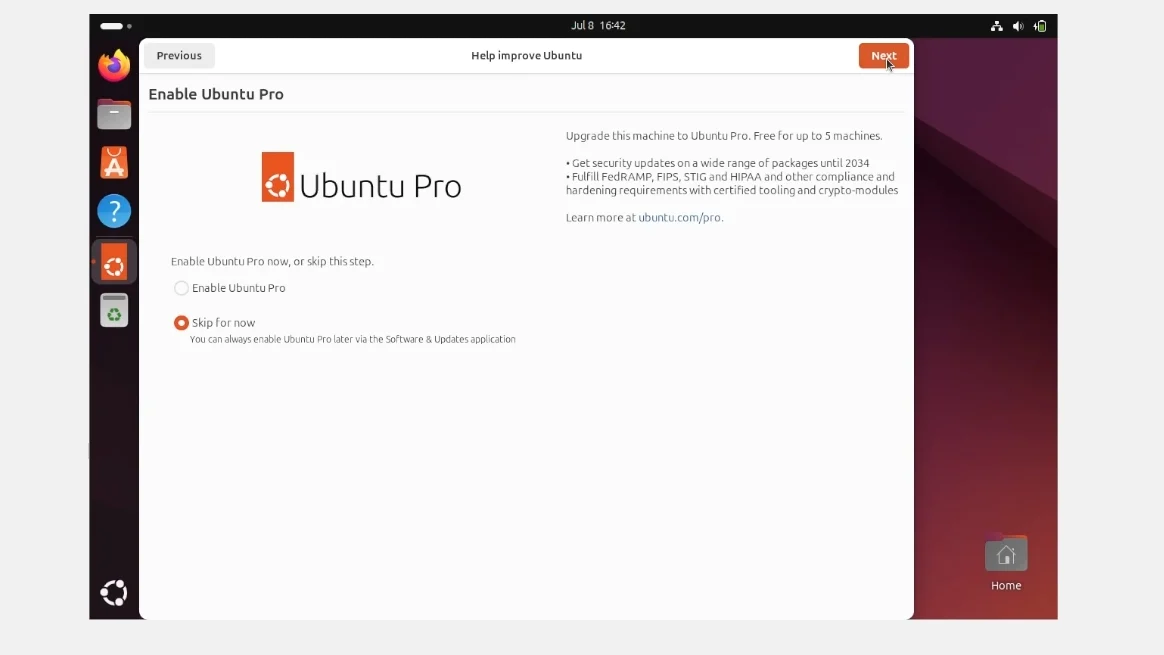
The next window will give you the option to enable Ubuntu Pro. Select Skip for now before clicking Next.
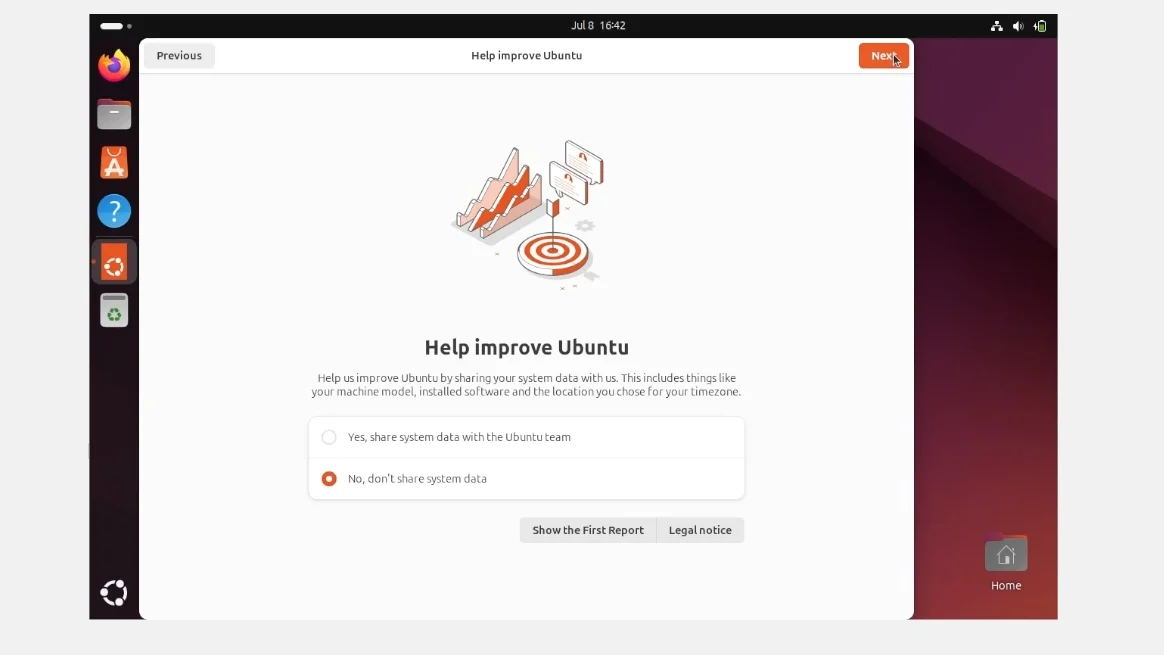
You can help the development of Ubuntu by choosing to send diagnostic data. For the purposes of this article, the option No, don’t share system data was selected. Once done, click Next.
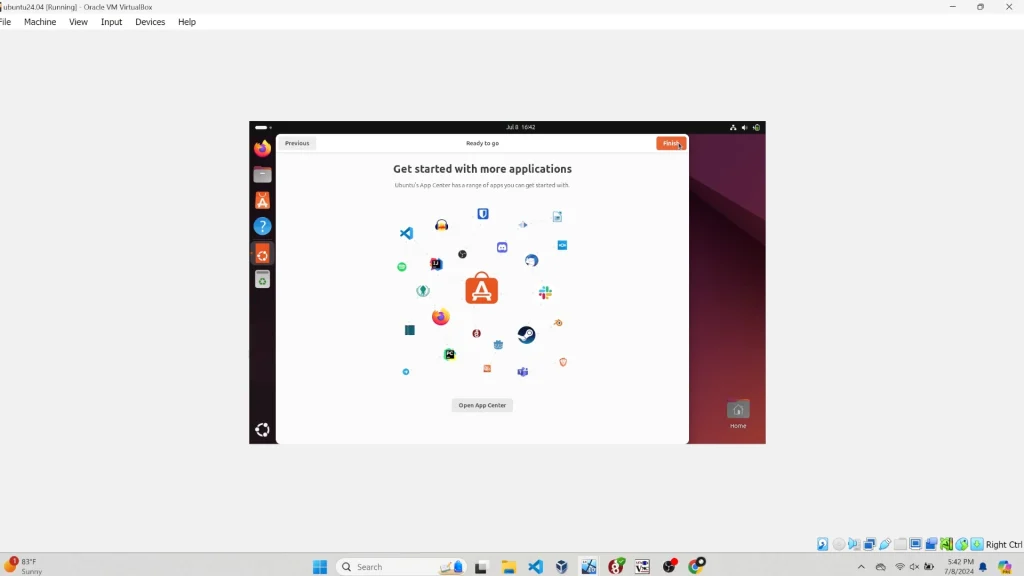
The next window is intended to introduce the software store. Click Next to finish the guided tour.
Conclusion
You should now have the necessary knowledge to download an Ubuntu 24.04 LTS Desktop ISO image and create your very own VirtualBox VM complete with a fresh Ubuntu installation.
Thank you for reading this article. If you found it helpful, please consider subscribing to our newsletter.
Additionally, if you’re considering starting an organization or business, creating a website, protecting your WordPress site from malware and cyber attacks, or are in the market for a new gaming laptop, checkout the affiliate links below! 22halomedia uses each of these products and is proudly partnered with these companies.
Articles to Read Next
How to Setup WireGuard VPN on Rocky 9 Linux
Secure Remote Support on LAN with x11vnc over SSH on Rocky Linux
How to Install Virtual Box and Answering “What is a Hypervisor?”
How to Enable Bidirectional Shared Clipboard on VirtualBox VM
How to Create a Linux VM with VirtualBox
Affiliate Links
Form your business with Northwest registered agent
Create a website with name.com
Secure your WordPress website with Wordfence
Affiliate Disclaimer
Please note that my website and content may contain affiliate links. This means that when you click on these links and make a purchase, I may earn a commission. Rest assured, all the products I promote are ones that I believe to be of high quality, and I personally use them as a consumer myself. Your support through these links helps me continue to create valuable content. Thank you for your support!
