Your cart is currently empty!
Author: Joey
How to Backup Home Folder on Linux With Tar
Subscribe to 22halomedia YouTube Channel
Introduction
Creating regular backups is always a wise decision and considered best practice. In this guide you will learn how to backup your home directory on Linux using the tar utility. Your home directory is where all your user’s files are. Typically the most important data will be found here.
Go to Your Home Directory
Use the below command to go to your home directory:
cd ~
Create Backup Directory
Before backing up your home directory you should have a good idea where you want to store your archived files. For the purposes of this guide, we will create a Backups directory in the home directory.
Make the Backups directory:
mkdir ~/Backups
Print Absolute Path of Home Directory
The absolute path of the home directory in this guide is
/home/me
.Use the following command to print your home directory:
pwd
Backup Your Home Directory
Backup your home directory now that you know its absolute path:
tar -czxf /home/Backups/backup.tar.gz /home/me
Tar Flags Explained
The
-c
flag tells tar to create a new archive.The
-z
flag directs tar to use gzip, which has the extensiontar.gz
The
-v
flag instructs tar to use verbose output. This means when tar is ran it will output each file added to the archive to the terminal.The
-f
flag specifies the file to use for the archive.Conclusion
It is important to take regular backups to prevent data loss. Additionally, its a good idea to store these backups in several different places. For instance, an external drive and cloud storage (rather than just one).
I hope you enjoyed this article. If it helped you, please leave a comment!
Articles to Read Next
How to Setup WireGuard VPN on Rocky 9 Linux
Secure Remote Support on LAN with x11vnc over SSH on Rocky Linux
How to Install Virtual Box and Answering “What is a Hypervisor?”
How to Enable Bidirectional Shared Clipboard on VirtualBox VM
How to Create a Linux VM with VirtualBox
Affiliate Links
Form your business with Northwest registered agent
Create a website with namedotcom
Secure your website with Wordfence
Affiliate Disclaimer
Please note that my website and content may contain affiliate links. This means that when you click on these links and make a purchase, I may earn a commission. Rest assured, all the products I promote are ones that I believe to be of high quality, and I personally use them as a consumer myself. Your support through these links helps me continue to create valuable content. Thank you for your support!
Join the Wordfence Bug Bounty Program -July 2024 Incentive!
Subscribe to 22halomedia YouTube Channel
🚨 Attention all security researchers! 🚨
Wordfence has just announced a fantastic opportunity! Through July 11th, 2024, they’re leveling the playing field for their Bug Bounty Program.
All high-level threat issues that can be exploited by unauthenticated or low-level authenticated attackers in ANY WordPress plugin or theme with over 1,000 active installations are now in-scope for submissions, regardless of research tier!
Don’t miss your chance to participate and potentially earn big rewards while making the WordPress community safer. Check out the details and get involved in Wordfence Bug Bounty Program today!
Articles to Read Next
How to Setup WireGuard VPN on Rocky 9 Linux
Secure Remote Support on LAN with x11vnc over SSH on Rocky Linux
How to Install Virtual Box and Answering “What is a Hypervisor?”
How to Enable Bidirectional Shared Clipboard on VirtualBox VM
How to Create a Linux VM with VirtualBox
Affiliate Links
Form your business with Northwest registered agent
Create a website with namedotcom
Secure your website with Wordfence
Affiliate Disclaimer
Please note that my website and content may contain affiliate links. This means that when you click on these links and make a purchase, I may earn a commission. Rest assured, all the products I promote are ones that I believe to be of high quality, and I personally use them as a consumer myself. Your support through these links helps me continue to create valuable content. Thank you for your support!
Create a Child Theme on WordPress the Easy Way
Subscribe to 22halomedia YouTube Channel
Introduction
A child theme is a copy of the parent theme. By creating a child theme you can make changes to the website’s styles without altering the original theme.
Additionally, when the theme is updated, the child theme’s styles will stay intact. If you made customizations directly to the parent theme you’ll lose your changes when the theme is updated.
Creating a Child Theme
Products such as managed WordPress by namedotcom don’t provide FTP/SFTP access to the host. In these situations you may scratch your head wondering how to create a child theme for your custom styles. With a plugin of course!
This guide uses the WP Child Theme Generator plugin.
Install WP Child Theme Generator Plugin
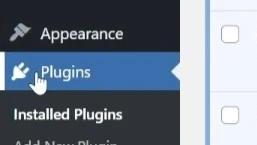
The first thing you need to do to in order to install the WP Child Theme Generator plugin is click Plugins from the WordPress Dashboard.
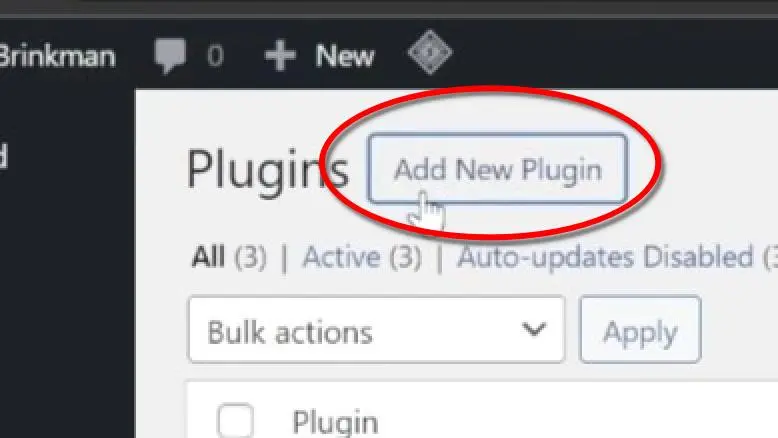
Then click Add New Plugin.
Next, type child theme in the search bar.
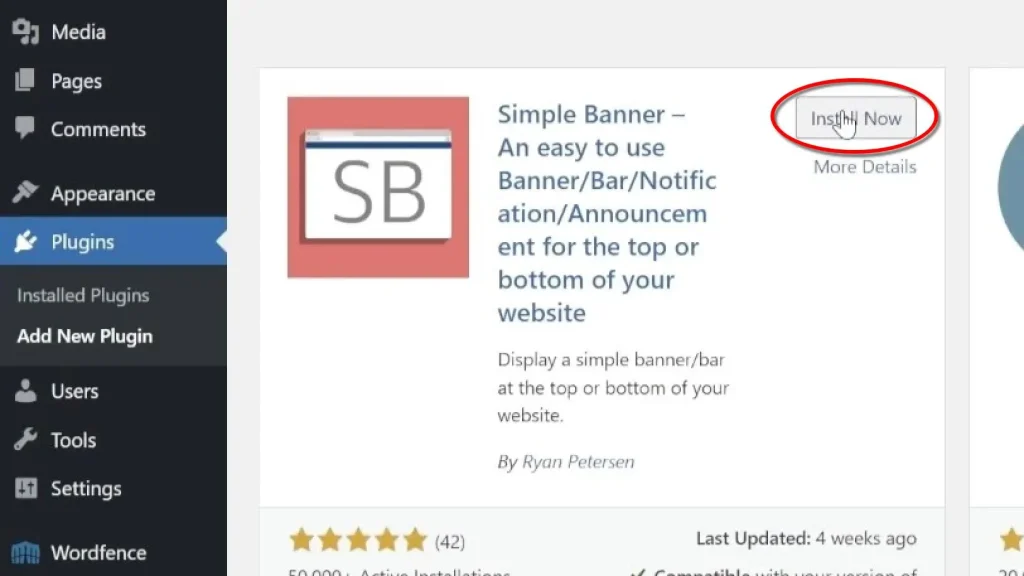
Click Install Now on the WP Child Theme Generator Plugin.
Then click Activate.
In the top menu bar, hover over Make Child Theme, then the subdirectory Create & Activate, and click on the theme you want to make a child theme of. In this case, Storefront.
Click Theme File Editor under the Appearance sub-menu.
Thanks to the child theme you can safely make changes to your theme files without overwriting your parent theme!
Custom CSS
#primary.content-area { width: 100%; margin-right: 0; } #secondary.widget-area { display: none; } .site-info a { display: none; }
This is the custom CSS code used to remove the WooCommerce branding and sidebar in the guide.
Conclusion
Child themes are a way to protect your parent theme files and ensure your custom changes don’t get overwritten when your theme is updated.
If you are using a managed WordPress product such as namedotcom managed WordPress then you won’t be able to access the webhost to manually create a child theme.
WP Child Theme Generator is a great plugin, and use case, for such a scenario.
I hope you enjoyed this blog post. Please leave a comment if it helped!
Articles to Read Next
How to Setup WireGuard VPN on Rocky 9 Linux
Secure Remote Support on LAN with x11vnc over SSH on Rocky Linux
How to Install Virtual Box and Answering “What is a Hypervisor?”
How to Enable Bidirectional Shared Clipboard on VirtualBox VM
How to Create a Linux VM with VirtualBox
Affiliate Links
Form your business with Northwest registered agent
Create a website with namedotcom
Secure your website with Wordfence
Affiliate Disclaimer
Please note that my website and content may contain affiliate links. This means that when you click on these links and make a purchase, I may earn a commission. Rest assured, all the products I promote are ones that I believe to be of high quality, and I personally use them as a consumer myself. Your support through these links helps me continue to create valuable content. Thank you for your support!